Lighting in Layers: An Updated Guide
If you were able to read the first part of this article here (insert the link of the first part on the word ‘here’)
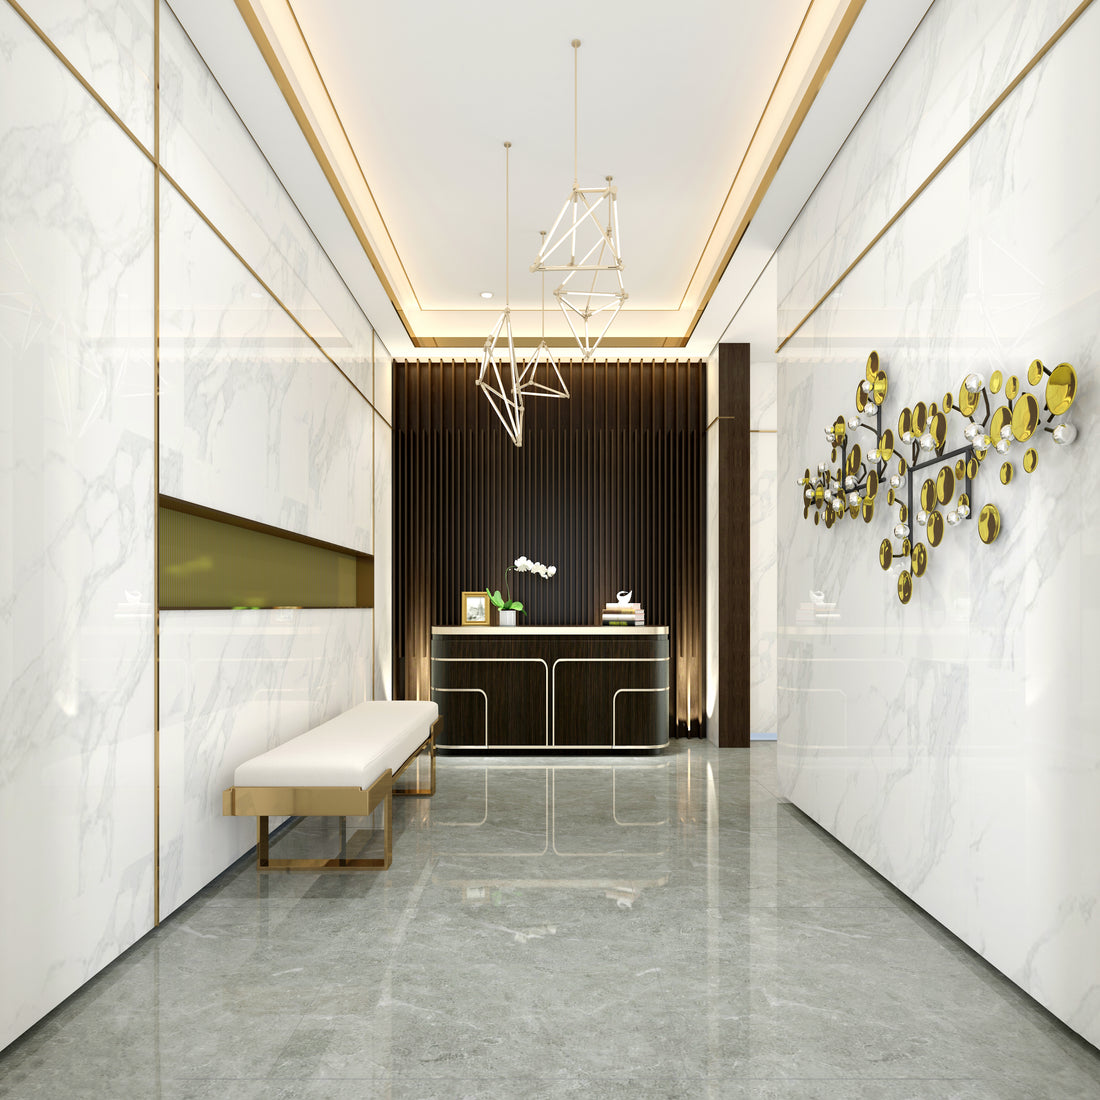
In the third layer, look for objects that you would like to highlight: pieces of art, sculptures, the dining table, etc. Spruce advises that a good focal point be things that face the main entrance of your living room. Once you have selected them, you are ready to position your accent lighting.
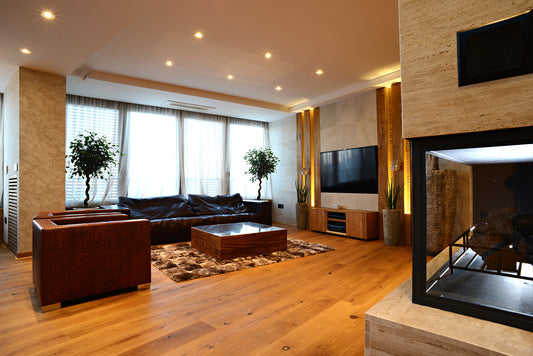
Serving also as the step number four, the fourth layer then consists in using light to stress architectural features. Perhaps you have a beautiful, high ceiling that you would like to present (quite literally) in its best light? Or maybe you would like to turn your rustic interior stone wall into a focal point giving it a modern, and country style? Focusing some directional light on a fireplace will bring out its shape and guide the visitor’s eyes to it.
Or what about using downlights or uplights to make columns? Or even wall washers to display an interestingly curved wall?
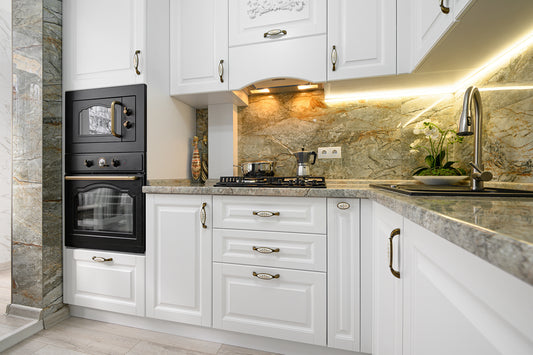
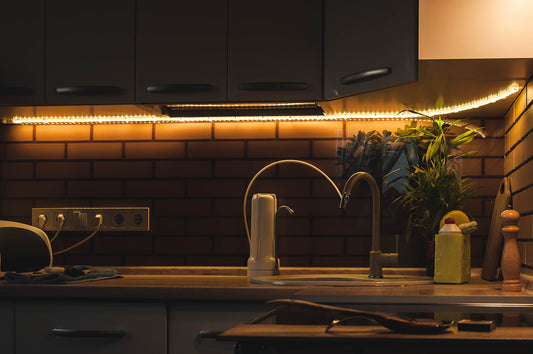
Finally, in step five, you look at adding light sources to help you perform tasks such as cooking, ironing, reading, painting, and so forth.
So far, all of this sounds quite idiot-proof. If installing five different sets of light fixtures isn’t all that difficult… right? Well, in truth, it’s not quite that straightforward. Some light sources chosen in an earlier layer may actually fulfill double or triple duty in subsequent layers. For example, a light source may serve as a guiding light (LAYER 1), but also help create a particular ambience, perhaps because it can be dimmed (LAYER 2), highlights architectural features create more value to a home (LAYER 4) or functions as an accent light (LAYER 3).
In other words, the layering approach not only helps present a space pleasing aesthetically, but also leads us to discover where certain lighting needs overlap.
Follow us on Facebook, Instagram and Pinterest for more of these lovely ideas!


